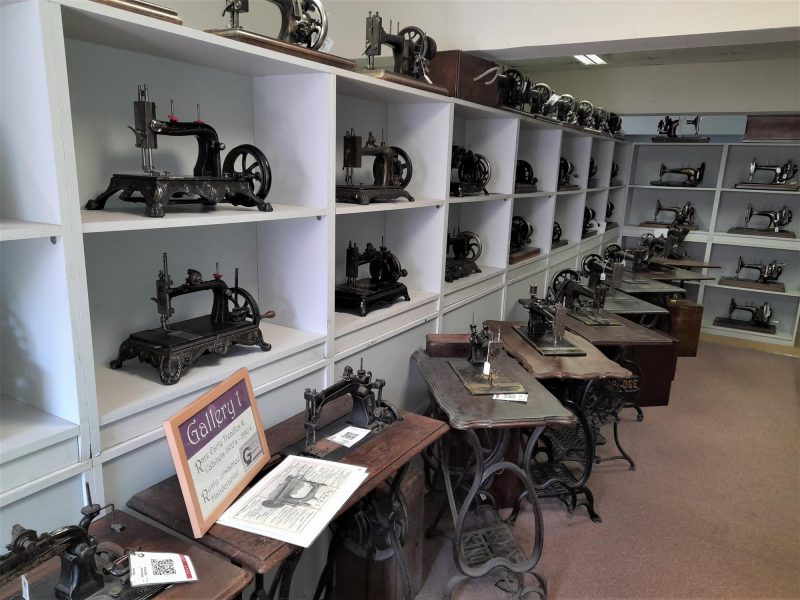
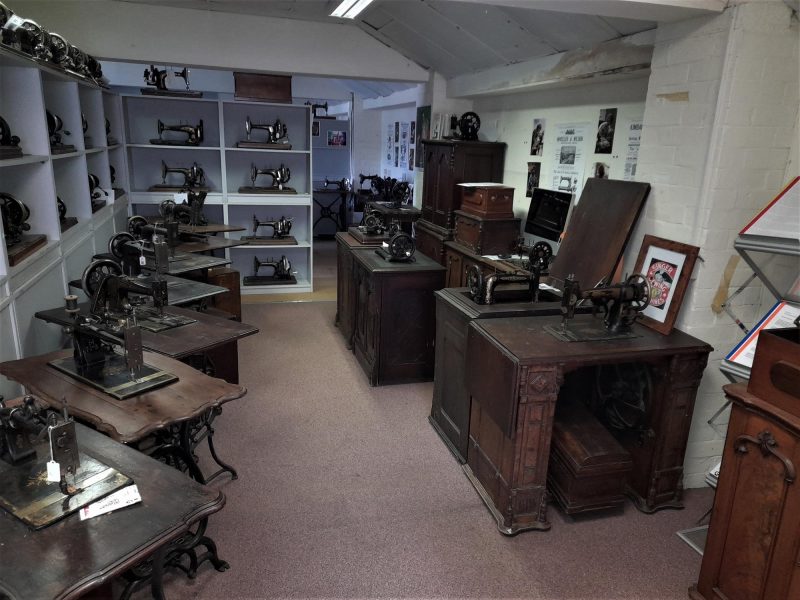
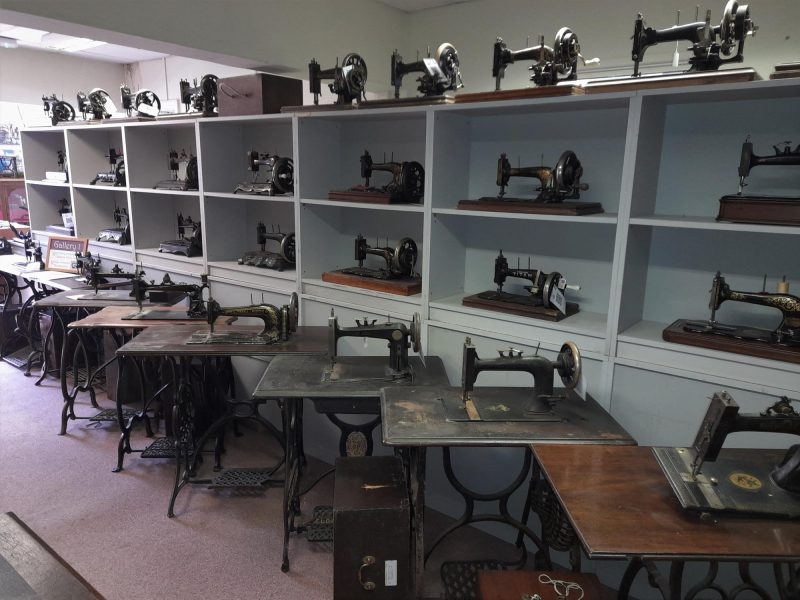
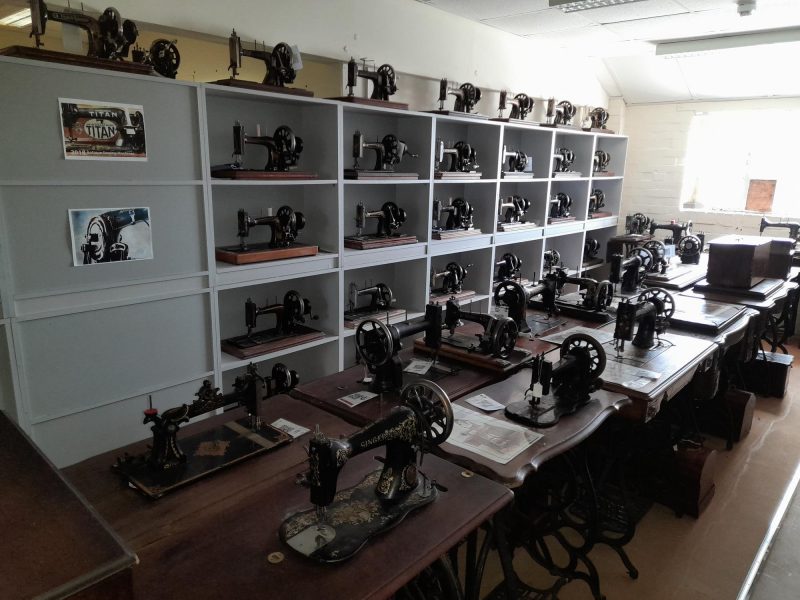
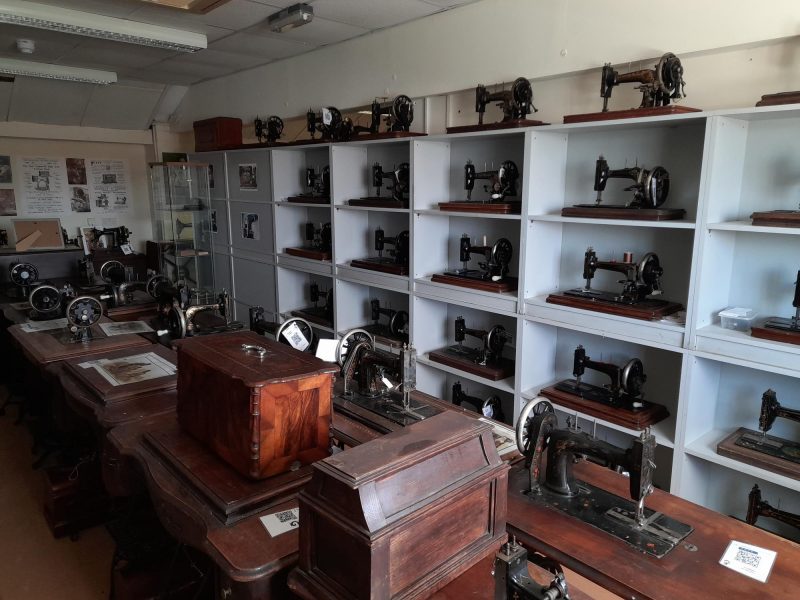
Introduction & Gallery 1


|
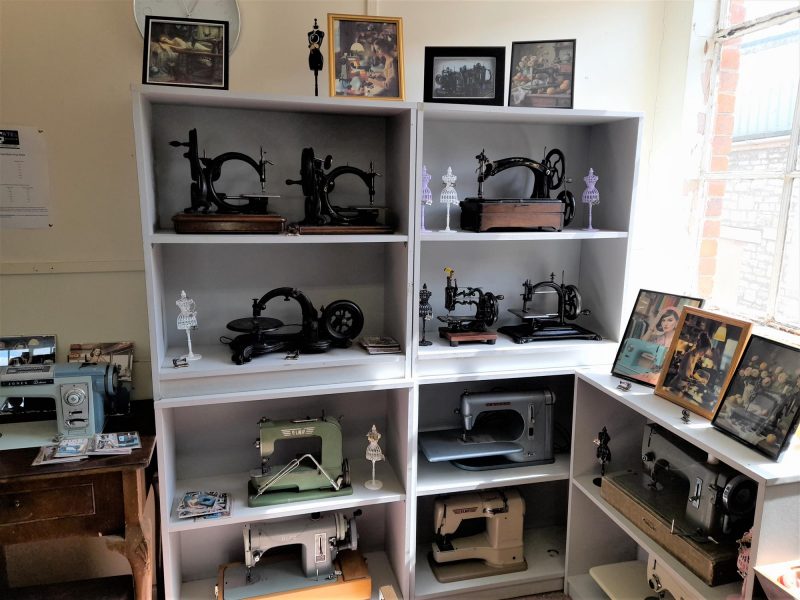
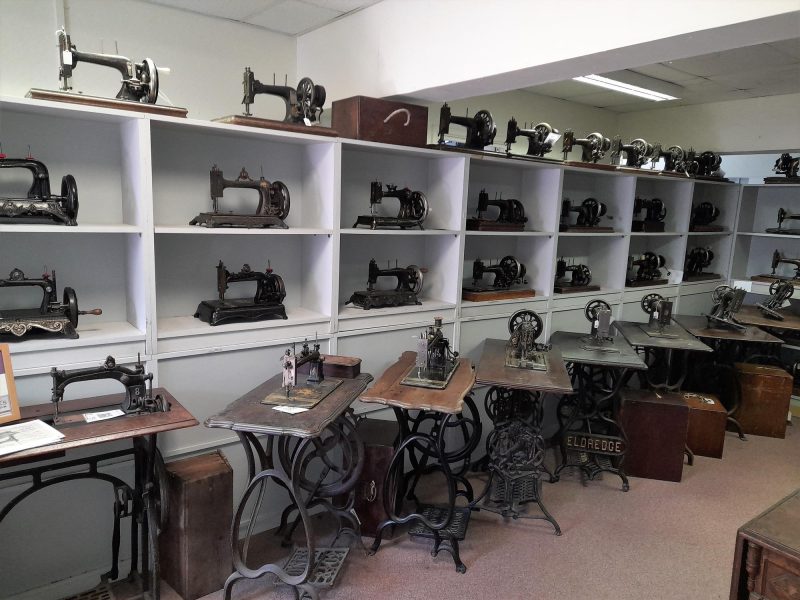
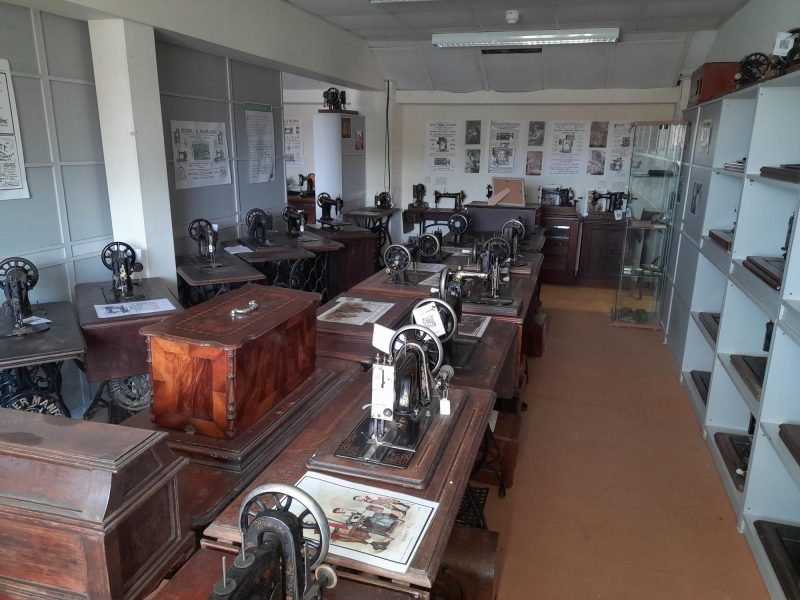
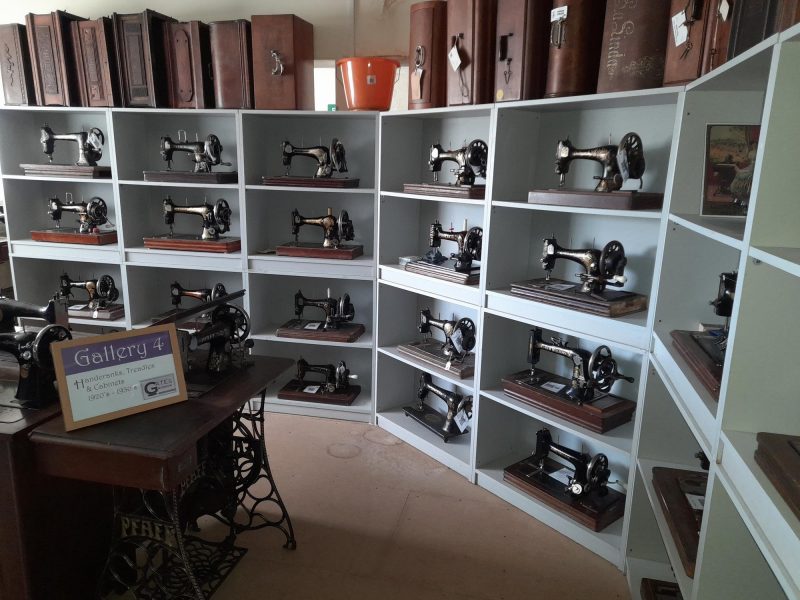
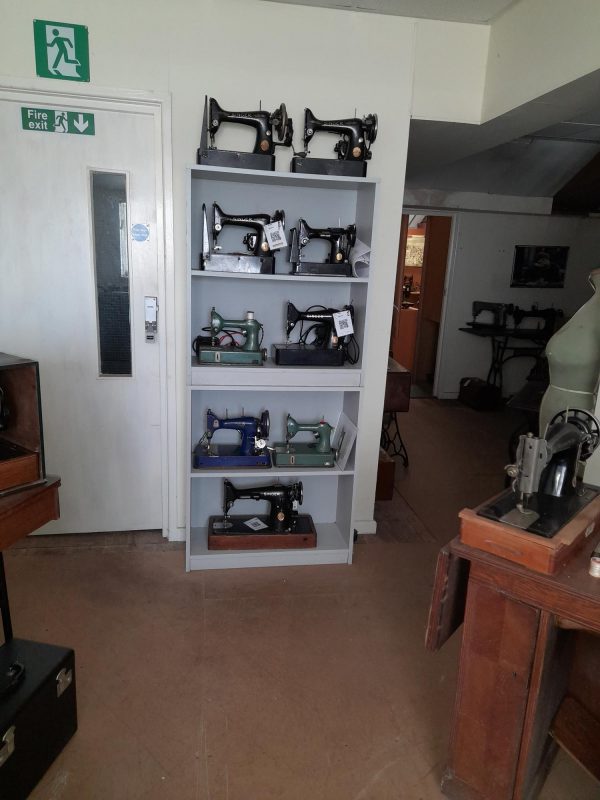
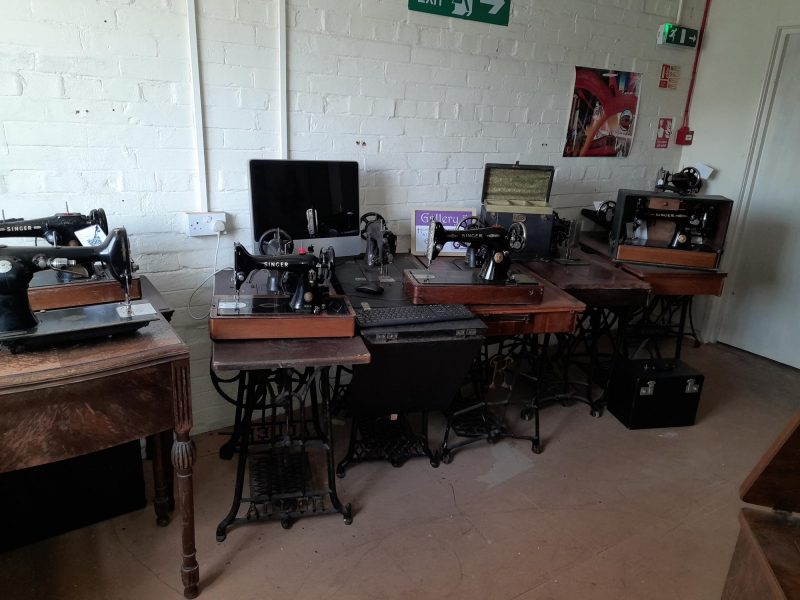
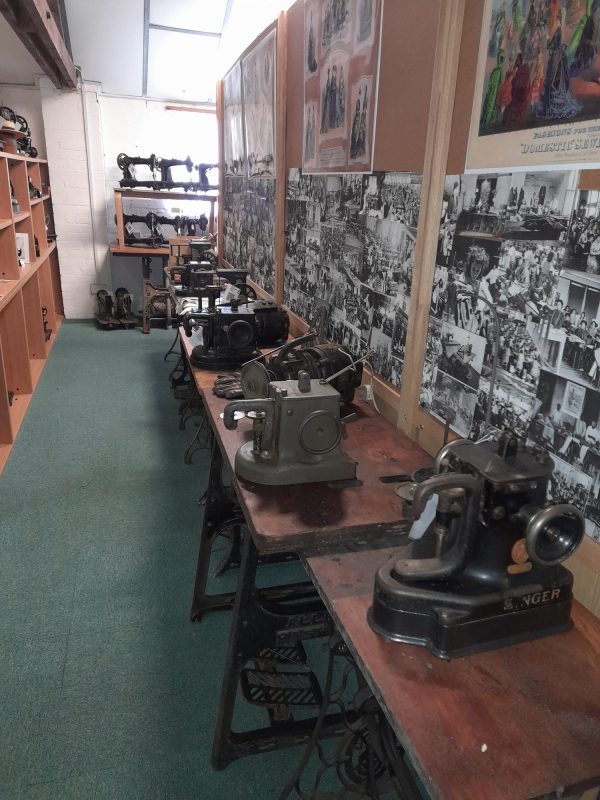
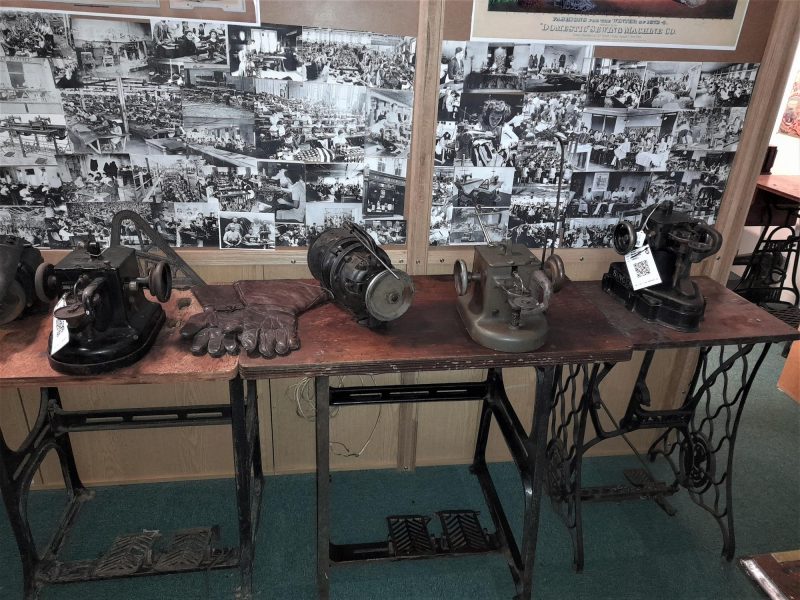
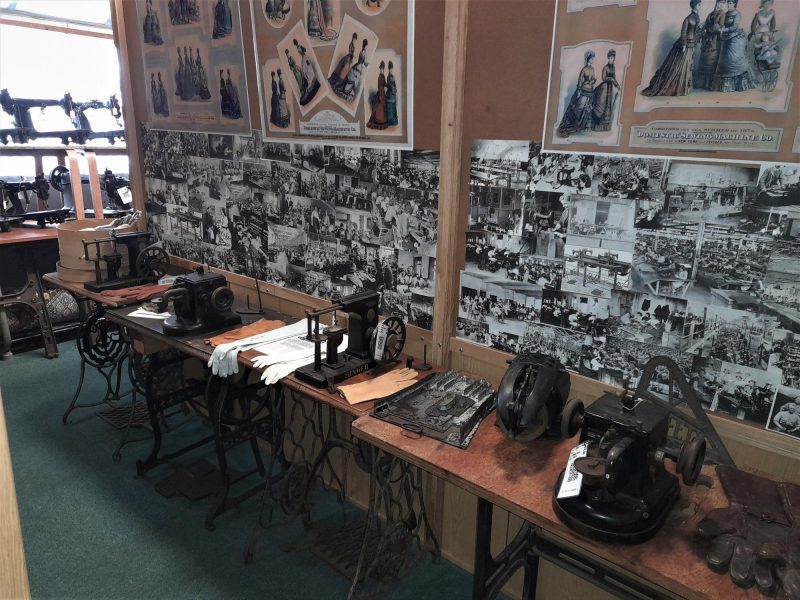
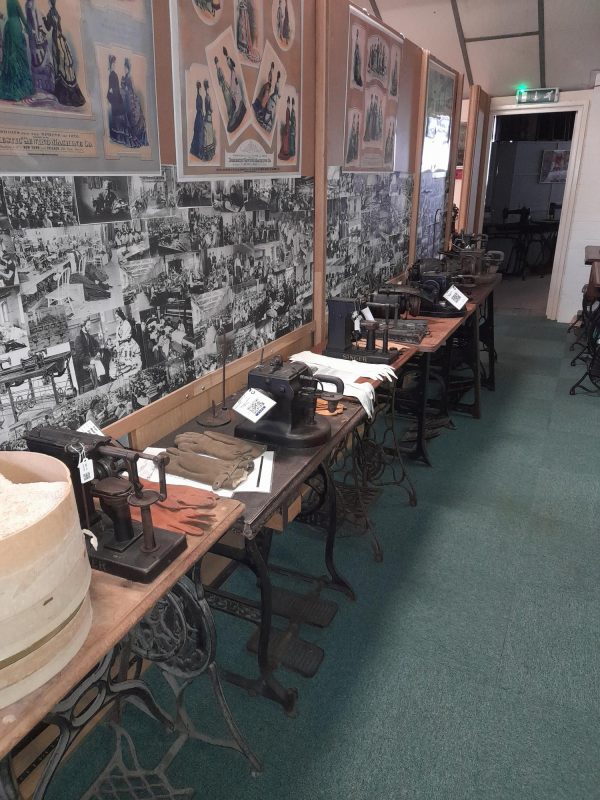
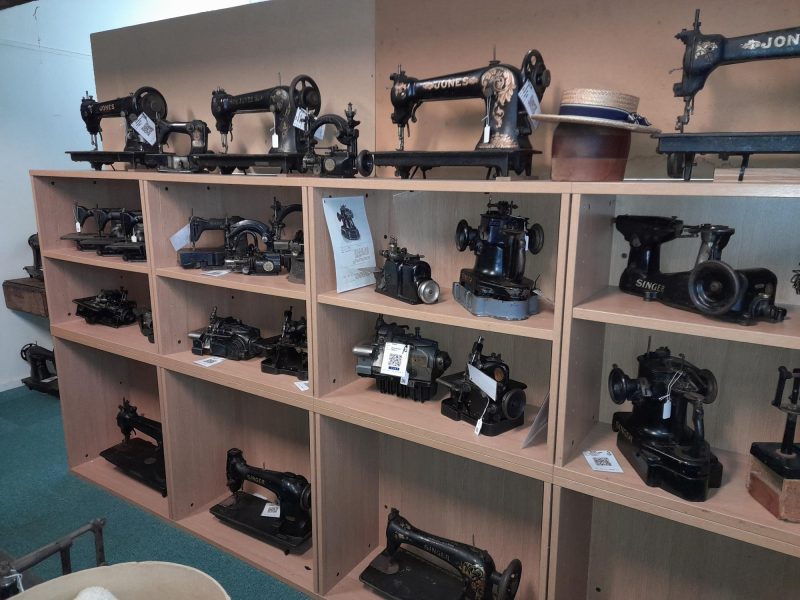
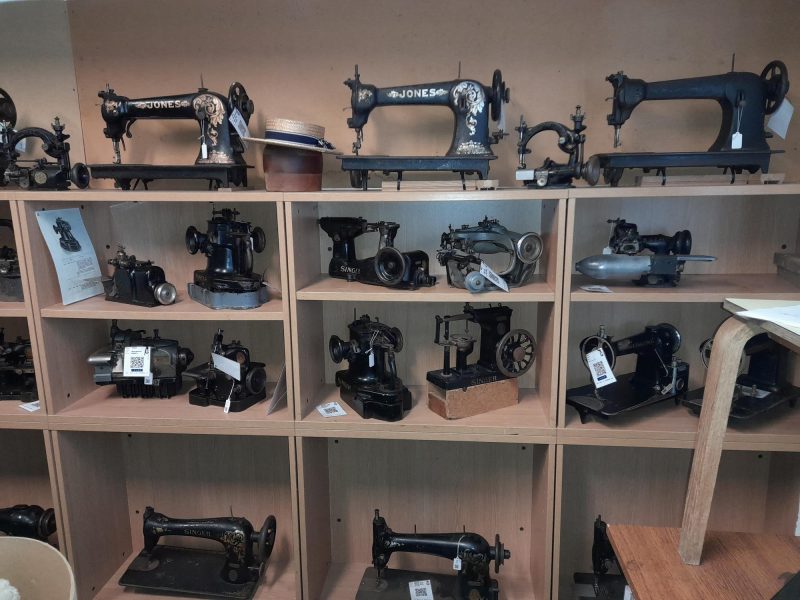
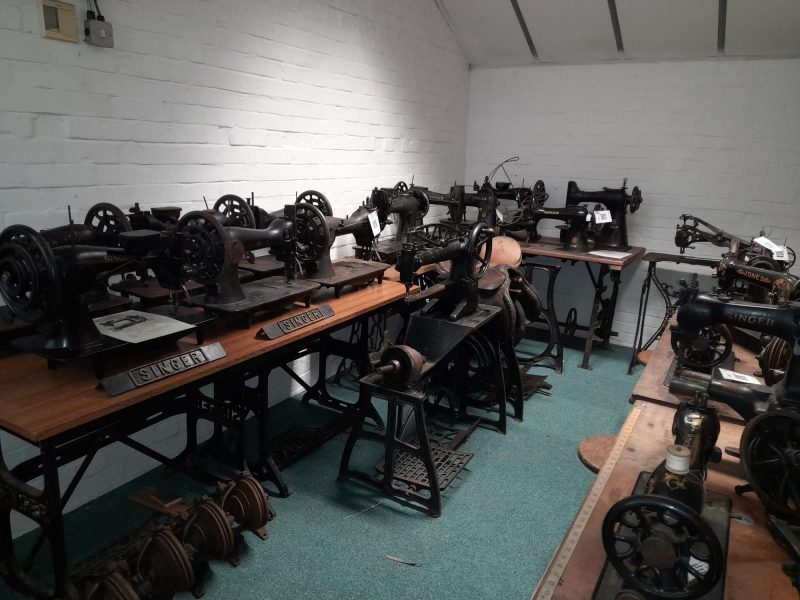
NEW dedicated place to buy and sell collectors antique & vintage sewing machines.
NEW dedicated place to buy and sell collectors antique & vintage sewing machines.